Furniture integration decision guide · Updated 29 July 2026
Clamp-On vs Recessed Desk Power Modules: A Furniture Integration Decision Guide
Direct answer: Choose a clamp-on desk power module when the furniture should remain largely uncut, edge access is available and the mounting contact can be checked on a sample. Choose a recessed module when a flush or integrated surface is more important and the furniture drawing can control the opening, underside clearance, fixing method and cable route. Neither format is automatically better. The correct choice depends on furniture geometry, service access, destination configuration and written model confirmation.
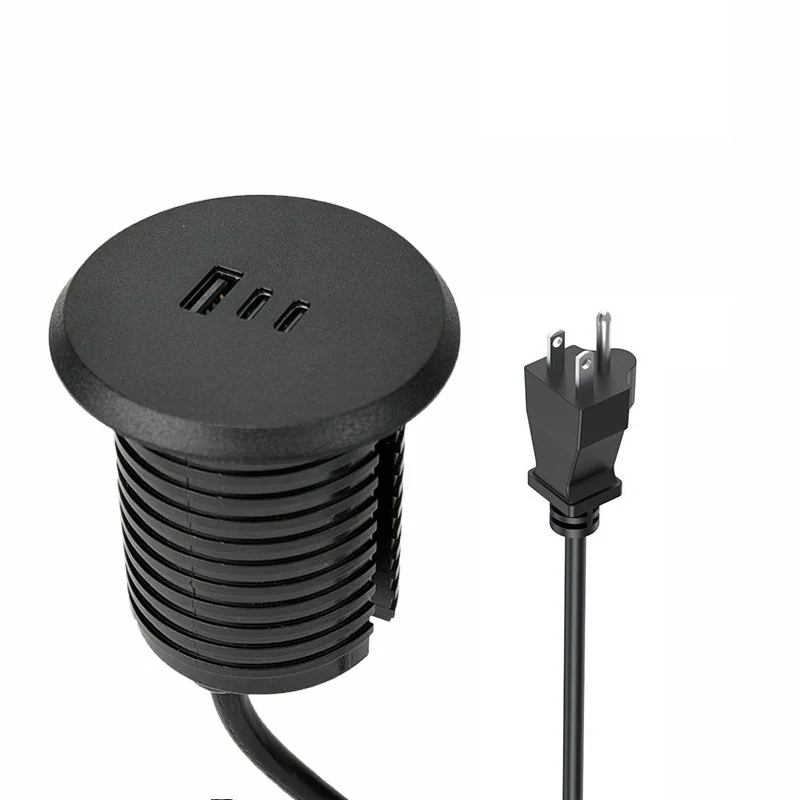
Start with the furniture decision, not the socket list
A buyer often begins by comparing visible outlets and charging ports. That sequence is backwards. The first decision is how the module will meet the furniture. A format that looks suitable in a catalogue may conflict with the edge profile, modesty panel, cable tray, drawer, reinforcement, upholstery or maintenance route.
Use the furniture drawing to answer four questions before comparing models:
- Where can the product touch the furniture? Identify the top, edge and underside surfaces that can accept contact or an opening.
- What must remain uncut? Note finished tops, stone, glass, thin panels, hollow structures and surfaces that cannot be altered after production.
- What space remains below or behind the module? Record frames, trays, drawers, brackets and cable paths.
- How will the unit be inspected or replaced? A visually integrated module still needs a practical service route.
Clamp-on and recessed formats solve different constraints
| Decision factor | Clamp-on format | Recessed format | What remains to confirm |
|---|---|---|---|
| Furniture alteration | May avoid a large top opening when a compatible edge is available | Requires a controlled opening or prepared mounting location | Exact furniture geometry and selected model drawing |
| Visual integration | Product remains visibly attached to the furniture edge or surface | Can create a more integrated or flush relationship | Finish, visible flange and installed height |
| Mounting contact | Contact pads, clamp faces and tightening path matter | Seating surface, fixing parts and opening edges matter | Surface protection and fixing method on a paid sample |
| Underside clearance | Needed for the clamp, adjustment path and cable bend | Needed for the body, fixing hardware and cable exit | Interference with frames, drawers and cable trays |
| Relocation | Potentially easier where the same compatible edge geometry is available | Normally tied to the prepared opening | Whether the selected model is intended to be moved |
| Service access | Fasteners and cable may remain reachable from the edge or underside | Access depends on the opening, fixing and underside layout | Removal sequence and safe access procedure |
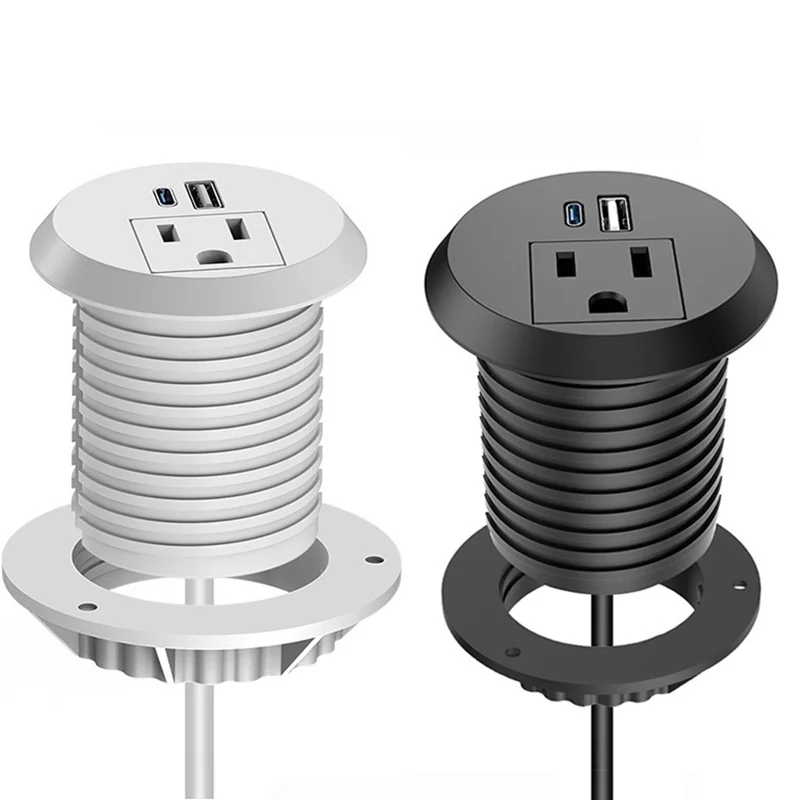
When a clamp-on format is the stronger starting point
A clamp-on module is worth shortlisting when the desk edge is accessible, the top should not receive a major opening and the project needs a visible, removable accessory. This can be useful for trial layouts, selected workstation types or furniture programmes in which edge mounting is acceptable.
Do not treat “no large cutout” as “no furniture check.” The sample still needs a controlled fit review. Inspect the edge profile, surface finish, underside reinforcement, clamp travel, contact-pad condition, tightening access and cable bend. Confirm that the module does not interfere with a drawer, modesty panel, screen bracket or the user’s leg space.
- Photograph the desk edge from the top, side and underside.
- Record the exact contact surfaces before and after the representative fit test.
- Check whether the clamp can be tightened and removed with normal tools.
- Confirm that the cable can leave the product without a sharp bend or trapped route.
- Keep the model, finish, plug, cable and visible interface arrangement tied to the sample record.
When a recessed format is the stronger starting point
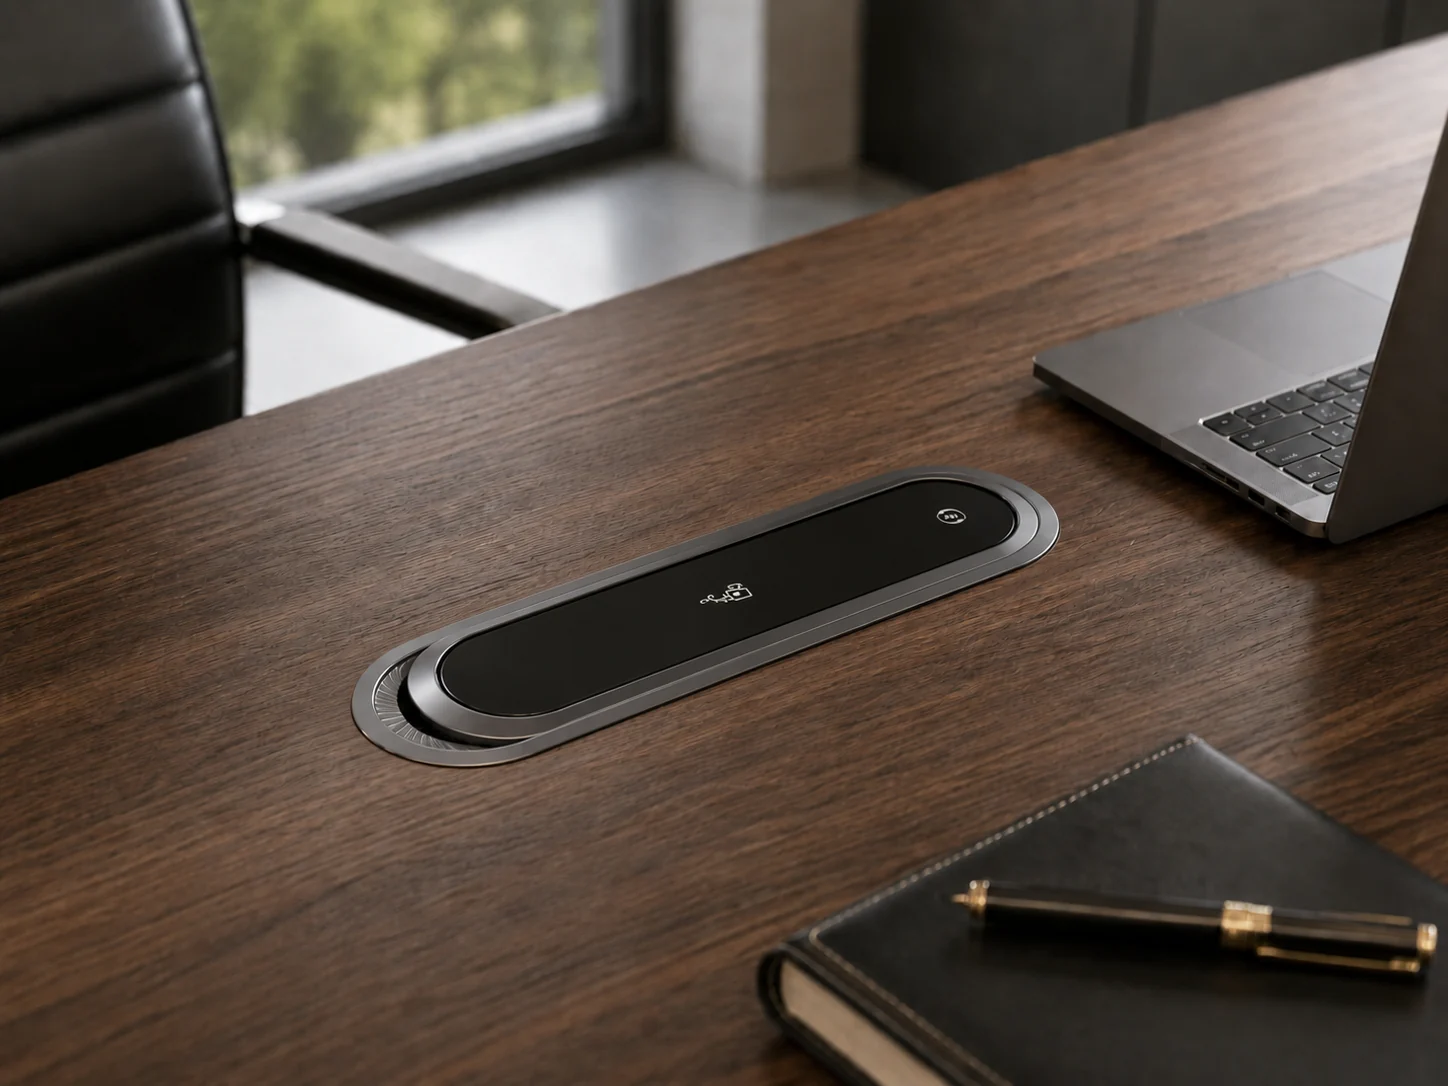
A recessed module is worth shortlisting when the product should sit within the top or panel and the furniture maker can control the opening before production. The decision may support a cleaner integrated appearance, but it transfers more responsibility to drawings, tolerances and underside coordination.
Never infer an opening from a photograph. Request the current model drawing, identify the viewing direction and confirm the revision used by both the furniture and sourcing teams. The opening is only one field. The record should also show the seating surface, corner treatment where relevant, top thickness, underside fixing space, cable exit, adjacent structure and service-access route.
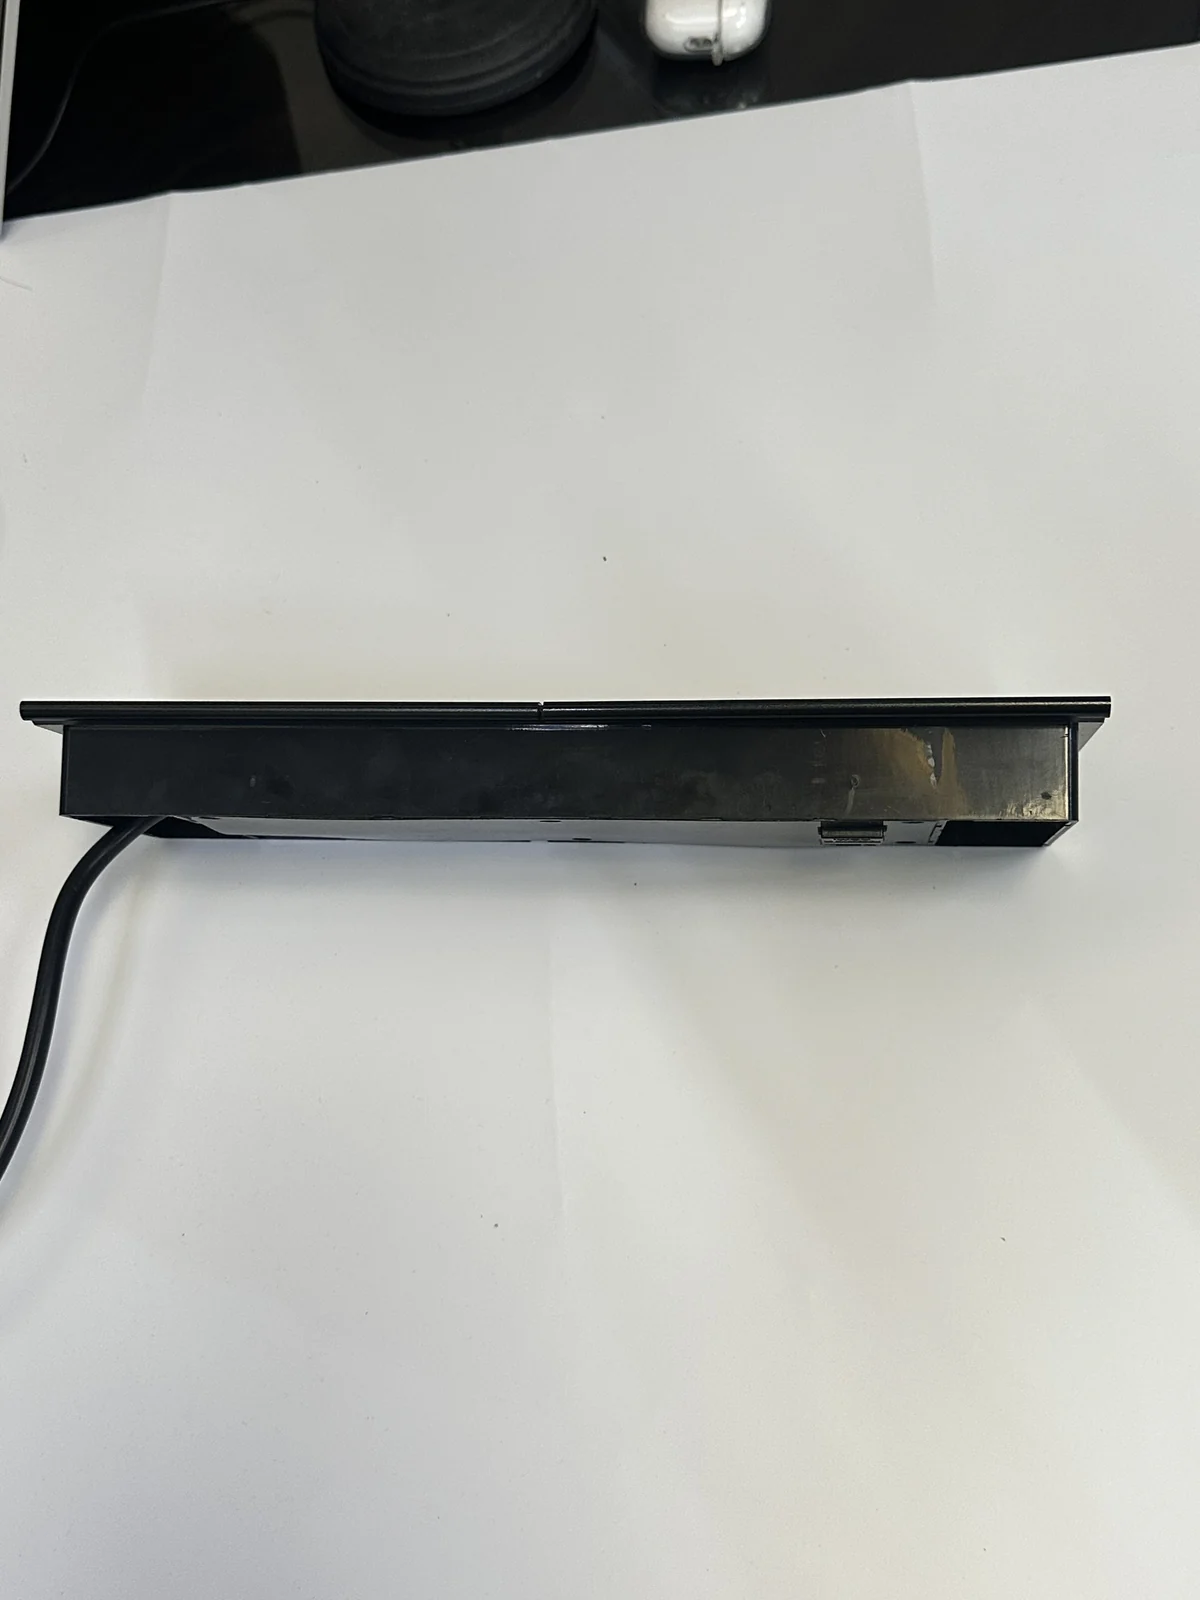
Use a two-stage decision instead of choosing from appearance
The first stage selects the installation family. The second stage selects a specific model and configuration. Keeping those stages separate prevents the team from approving a visual idea before checking the furniture and destination requirements.
Stage 1 — format fit
- Mark acceptable furniture contact areas.
- Identify prohibited openings and obstructions.
- Choose clamp-on, recessed or another current format for review.
- Reject any format that cannot be serviced safely.
Stage 2 — model fit
- Shortlist current formal models.
- Request the exact visible configuration and drawing.
- Confirm destination, plug, cable and required documents.
- Approve a paid sample against the furniture record.
Do not merge electrical configuration with furniture geometry
A module can fit the furniture but still be the wrong destination configuration. It can also show the requested socket and ports while failing the furniture-fit review. Record these as separate approval lines. For the destination line, identify the intended market, plug, cable, socket format, charging interfaces and requested documentation. For the furniture line, identify the product format, opening or edge geometry, contact surfaces, clearance, fixing and service access.
Sooye Studio’s current catalogue contains 18 formal products, DP-01 through DP-17 and CM-01. The product pages are the starting point for discovery, not a substitute for written order confirmation. A visible product photo confirms what is shown in that image. It does not make every option, port, plug or performance statement available for every order.
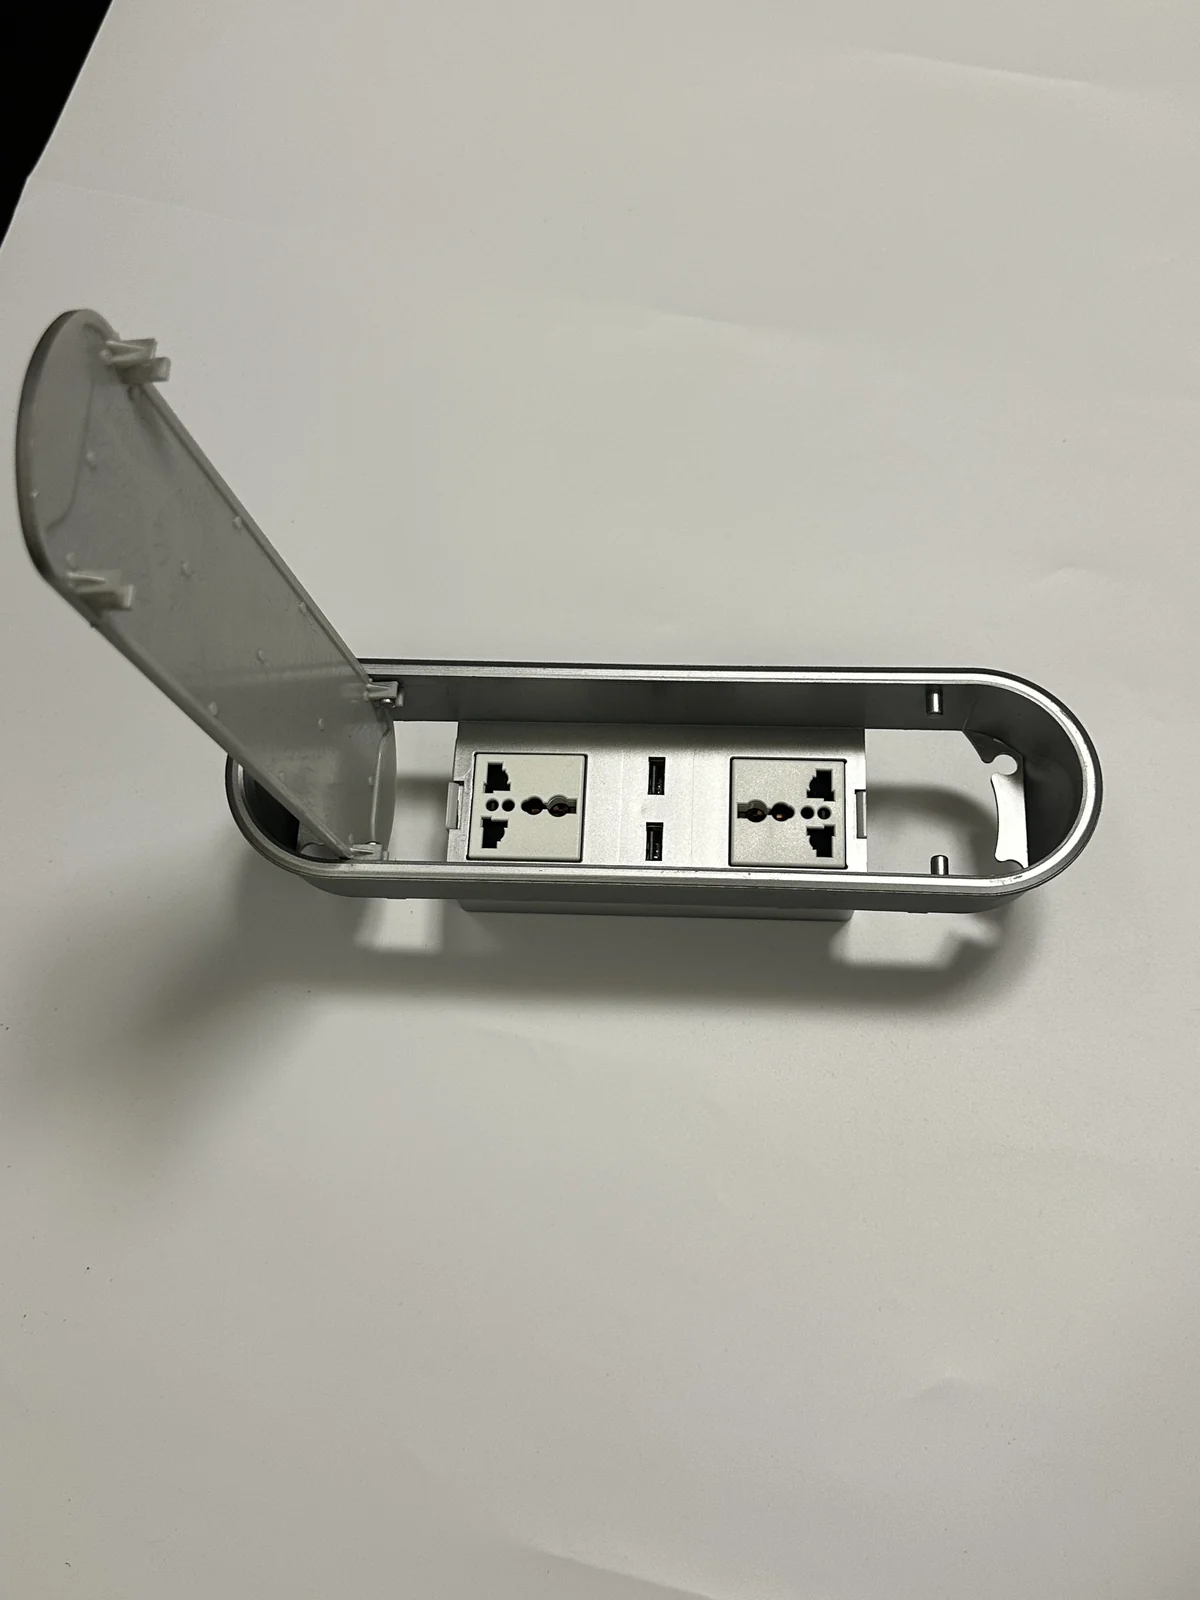
Build a representative sample test
A paid sample should be tested on a representative furniture assembly, not held above an unrelated desk for a photograph. Use the intended material or a controlled mock-up with the same relevant thickness, edge profile, finish and underside constraints. If the final top is stone, glass or another specialised material, the project team should define who is responsible for the opening and what evidence is required before cutting.
For a clamp-on model, record contact-pad condition, tightening access, installed stability, surface marking and cable clearance. For a recessed model, record the opening, seating, fixation, open/closed movement when applicable, underside access and cable route. Photograph before, during and after installation. Keep the sample reference and drawing revision in the same approval record.
If the project has more than one furniture construction, treat each materially different top or edge as a separate fit condition. A result on one laminate desk does not automatically approve a thicker top, a shaped edge, an upholstered panel or a worktop with different underside reinforcement. The sample register should state exactly which condition passed and which remain open.
A compact decision checklist
| Checkpoint | Confirmed | Needs verification | Written record |
|---|---|---|---|
| Current formal model | Model exists in the current catalogue | Exact requested configuration | Model and configuration line |
| Furniture interface | Proposed clamp-on or recessed family | Exact edge, opening, thickness and clearance | Furniture drawing revision |
| Visible interfaces | What the selected reference image visibly shows | Availability for the requested order | Approved layout or configuration drawing |
| Destination | Buyer’s stated destination | Plug, cable, socket and documents for that destination | Destination configuration confirmation |
| Commercial terms | Paid samples; buyer pays sample freight | Sample price, MOQ, lead time and order-specific terms | Quotation and purchase record |
What to confirm before RFQ
- Selected model or the exact current product images being reviewed.
- Clamp-on, recessed or other required installation family.
- Furniture top material, thickness, edge profile and underside construction.
- Opening, viewing direction, fixing and service-access requirements.
- Destination country, socket format, plug, cable and charging interfaces.
- Required drawings, declarations, test reports or other model-specific documents.
- Paid sample quantity, freight destination and approval checkpoints.
- Order quantity, packaging, branding and any OEM/ODM request that needs written feasibility review.
Follow the Discover → Verify → Sample → RFQ path
Discover: compare current formats in the Product Catalog and the Office Power Modules Product Detail hub. Verify: use the desk socket cutout planning guide, installation risk guide and plug standard planning guide to define open questions. Sample: use the sample testing checklist and record the representative furniture-fit result. RFQ: send the model, destination, furniture drawing, quantity and open items through the Inquiry and RFQ page.
For current model references, review DP-01, DP-02, DP-11, DP-12 and DP-13 only where those product formats match the intended furniture task.
Sooye Studio is a factory brand in Jiazi Town, Lufeng, Shanwei, Guangdong, China. Send the furniture drawing, destination and product shortlist. We will separate confirmed public evidence from model-, configuration- and order-specific questions that require written confirmation.
Editorial basis: current Sooye Studio model records, real product images, the confirmed paid-sample policy and the written-configuration workflow. No universal cutout, clamping range, MOQ, lead time or certification is asserted.