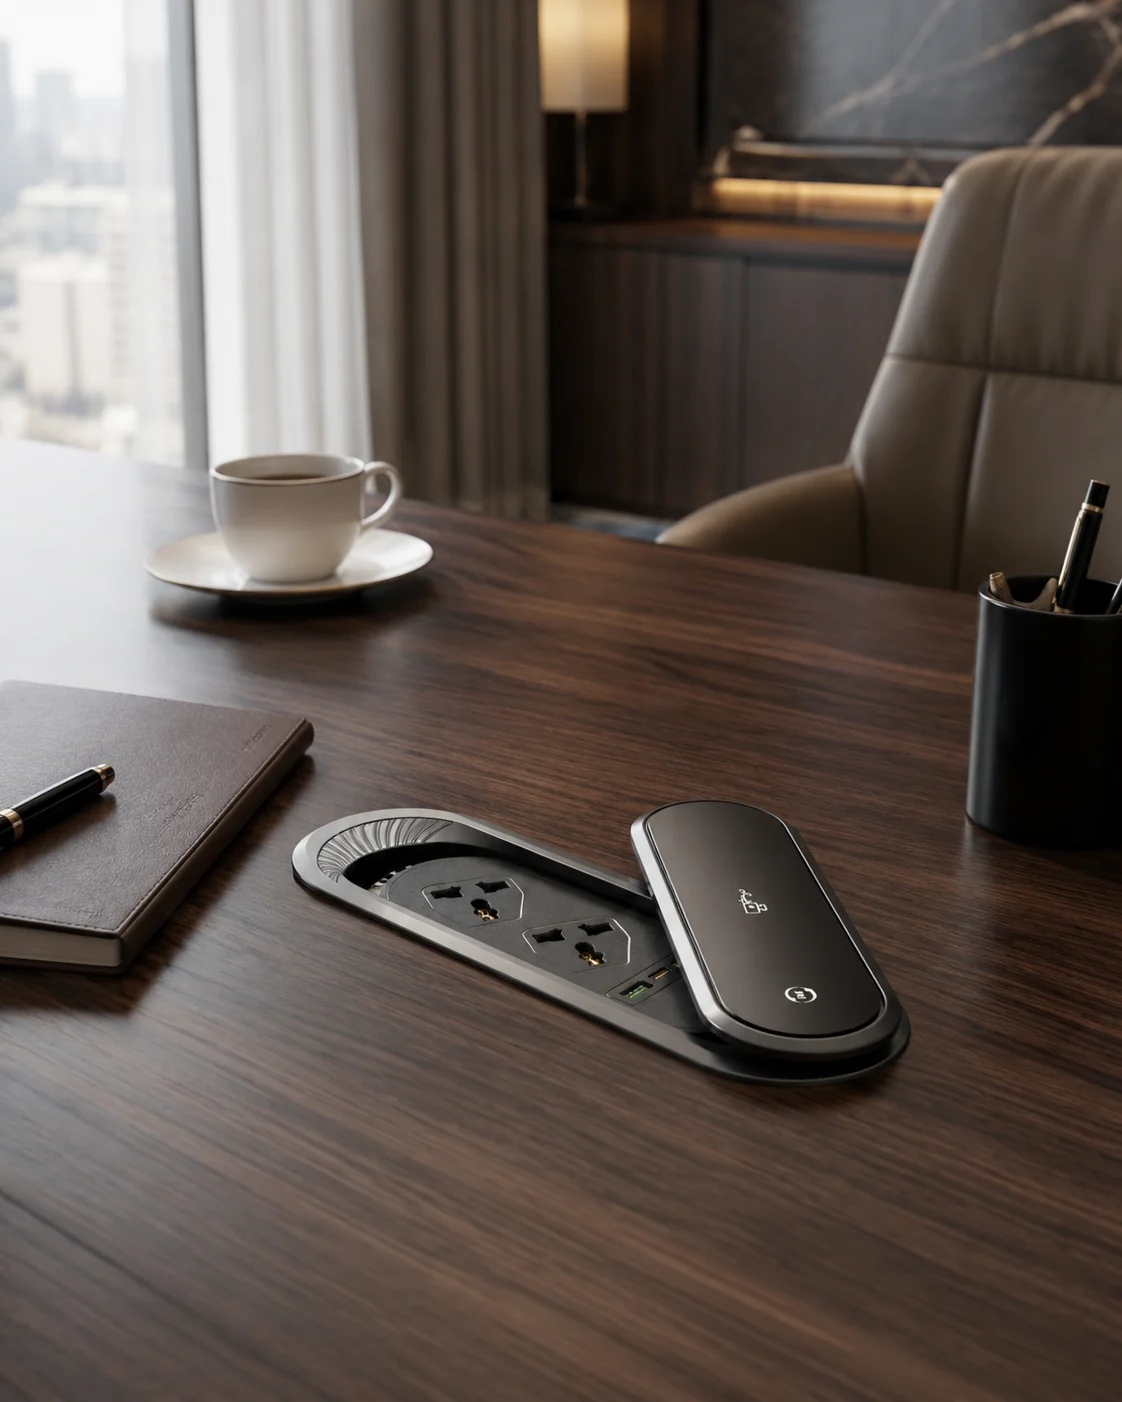
Map user positions
Mark seats, equipment, cable entry points and the expected device use before placing power modules.
Buyer decision brief
This guide turns conference room power layout guide into a practical buyer workflow: define the application, shortlist current models, verify evidence, approve a paid sample and send the final configuration through a written RFQ.
Mark seats, equipment, cable entry points and the expected device use before placing power modules.
Check cut-outs, structural members, under-table clearance, cable management and service access on the same drawing.
Review one representative position with the exact model and destination configuration before repeating it across the project.
Paid samples are available for current formal models and sample freight is paid by the buyer. MOQ varies by category and model. Lead time and exact commercial terms are confirmed in the written quotation.
Discover→Verify→Sample→RFQ
The buyer needs to match table size, seating layout, cable routing, power access points, USB-C needs, and installation timing.
Sourcing summary: Sooye Studio supplies conference room power layouts with conference table power outlets, boardroom sockets, meeting room table modules, USB-C table power, and RFQ support for project buyers.
Define how many users need power access at the table
Plan cable routing before confirming socket placement
Match port layout to room use: boardroom, training, hotel, or coworking
Confirm cutout dimensions before table production
Use mock-up or sample units before bulk project order
A clear RFQ helps Sooye Studio match the correct office furniture accessory, desk power product, hardware item, packaging format, and sample plan.
Share your buyer type, target country, product category, quantity, technical details, packaging requirements, sample needs, and private label or OEM expectations. Sooye Studio can help match the request to suitable office furniture accessories and embedded desk power products.
Request quotationDirect answer: a conference table power plan should assign every proposed module to a named furniture zone, drawing coordinate, user group, cable route and service-access condition before the product is quoted. A count such as “four table sockets” is not an installation schedule. Build a position record, select current models only after the furniture constraints are visible, and validate representative positions with paid samples. Exact openings, layouts and destination configurations require model-specific written confirmation.
This update strengthens the existing conference-room layout role without claiming that one standard spacing fits every table. Use the conference table sourcing guide for the broader buyer decision and the Office Power Modules hub to review current product formats.
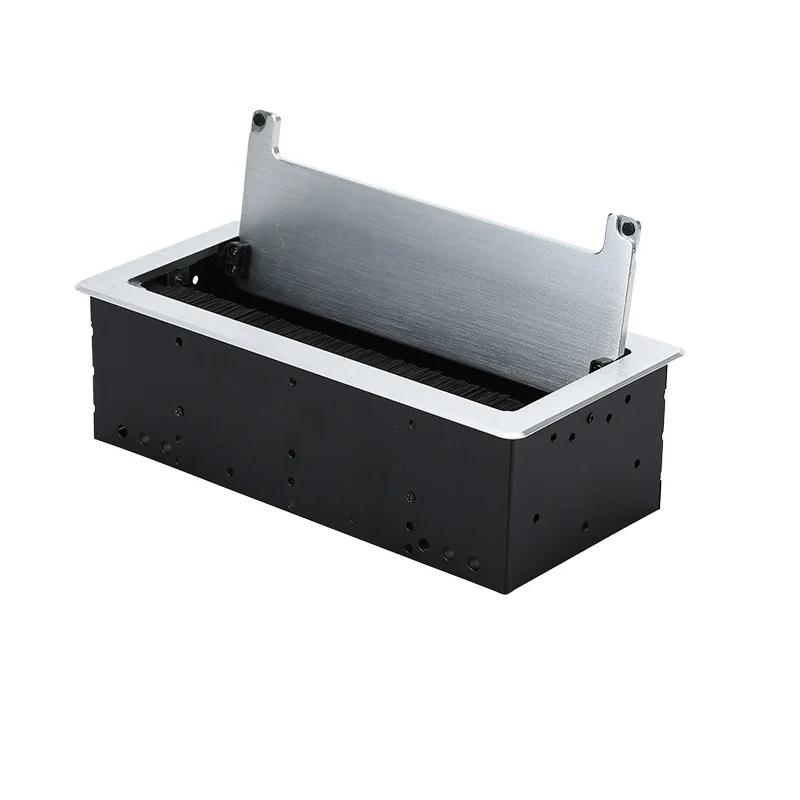
Divide the furniture into meaningful zones: participant positions, chair-free approach areas, presentation or host positions, cable-entry points and service zones. The names are project inputs, not fixed Sooye Studio standards. Each zone should identify who uses it, what device or cable path is expected, and what underside structure may conflict with the module.
A zone record avoids a common error: selecting products from top-view images and discovering later that a table base, beam, trough or cable bend occupies the same space. It also helps procurement distinguish repeated positions from exceptions that require a different product or no module at all.
| Position ID | Furniture reference | User need | Candidate model | Evidence status | Next action |
|---|---|---|---|---|---|
| P-01 | Drawing coordinate and top/underside view | Buyer-defined access need | Exact current DP model or Hold | Confirmed / Needs verification | Drawing review |
| P-02 | Different zone or repeated condition | Same or different user need | Do not assume P-01 applies | Record separately | Representative sample |
| S-01 | Service zone | Access for cable and maintenance | Linked to selected model | Needs verification until reviewed | Clearance review |
| C-01 | Cable-entry route | Below-surface path | CM-01 or another evidenced route when applicable | Function must be defined | Use cable/power comparison |
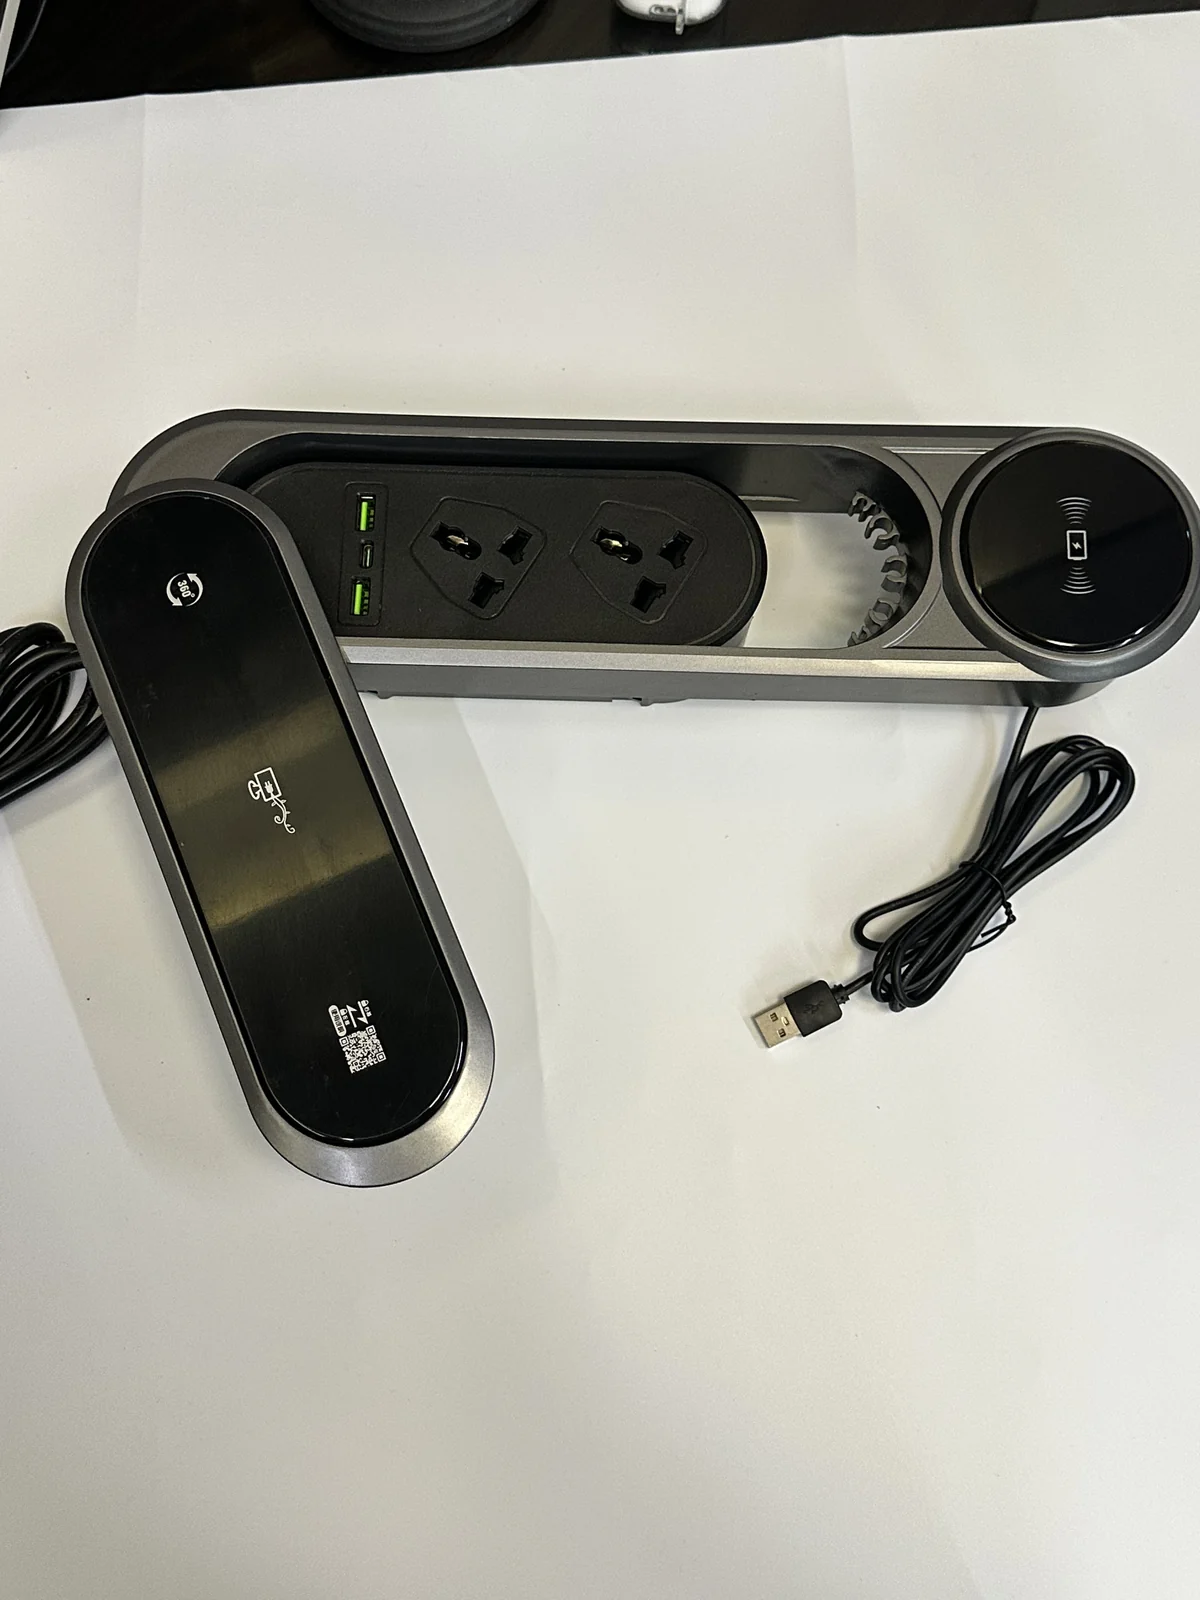
The top view shows access and visual placement. The underside view shows beams, aprons, cable trays, cable bends, mounting parts and service approach. Both must reference the same drawing revision. The cutout-dimension guide explains why exact model evidence must govern any opening, and the port-layout checklist keeps the visible interface traceable.
For a cable-only position, use the cable grommet versus power grommet guide before assigning a powered module. This prevents a cable-management need from being over-specified as an electrical product.
The sample testing checklist provides the physical review sequence. If a product or furniture condition changes afterward, use the written configuration record so the RFQ cannot drift away from the sample evidence.
A long table may contain positions that appear identical, but repetition should be declared rather than assumed. Group positions only when the furniture construction, orientation, underside route, user need and selected configuration are genuinely the same. Name the representative position that was reviewed and list every dependent position. If one position has a different beam, base, cable entry or service approach, make it an exception with its own review.
This approach avoids testing every position while still preserving a defensible basis for reuse. The position schedule should record why a repeated condition belongs to the group and who approved the grouping. When the table design changes, reopen the affected group rather than editing coordinates without an impact review.
Powered interfaces do not eliminate the need for cable routing. Mark where power-module cables, user cables and furniture cable-management parts travel below the surface. A cable pass-through point should have its own identifier and function statement. If CM-01 or another cable-management route is considered, keep it separate from the powered-model schedule even when the positions are adjacent.
The combined drawing should let reviewers trace a user's connection from the work surface to the underside route without crossing an obstacle or blocking service access. Do not infer compatibility between products. Use the representative sample to verify the actual route, and keep all destination-specific electrical questions with the powered product record.
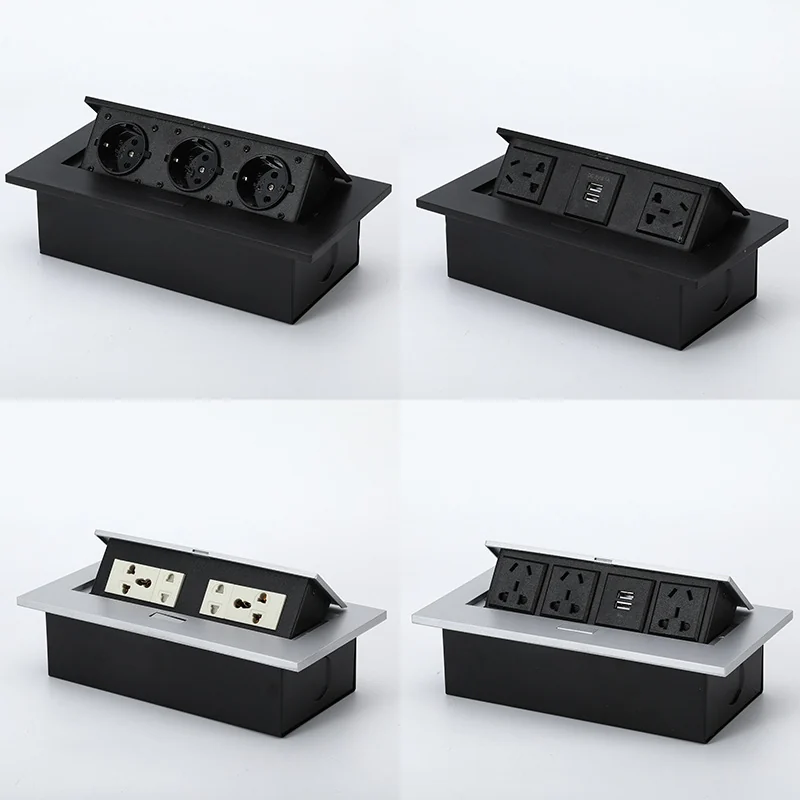
Attach the position schedule, controlled furniture drawings, model shortlist and sample record to the RFQ. Do not replace these attachments with a generic room description. Use the quotation comparison sheet if multiple responses must be normalized, then send the controlled package through the Inquiry / RFQ page.